There’s something extra special about baking treats at home especially when they’re for your dog. The smell of warm biscuits, the excitement in your pup’s eyes, and the comfort of knowing exactly what ingredients you’re using make homemade dog treats incredibly rewarding.
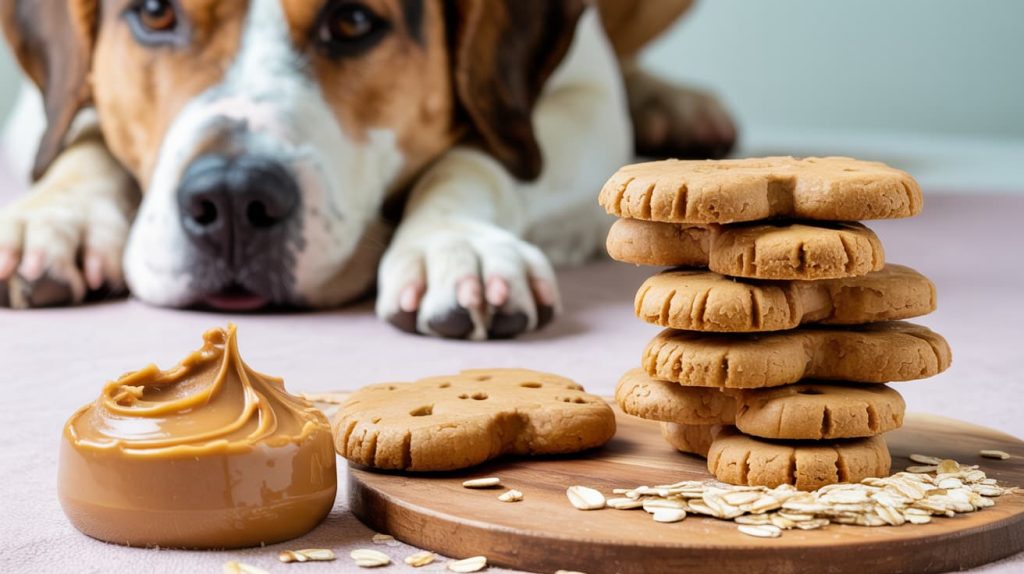
These Peanut Butter & Oat Dog Biscuits are one of the most loved homemade dog treat recipes and for good reason. They’re crunchy, naturally flavorful, easy to make, and packed with dog-safe ingredients that support overall health. No preservatives, no mystery additives, and no unnecessary fillers just wholesome goodness baked with love.
Whether you’re making treats for training, special rewards, or simply to spoil your furry friend, this recipe is a reliable go-to that dogs of all sizes enjoy.
Why Homemade Dog Biscuits Are Better
Many commercial dog biscuits contain artificial flavors, coloring agents, and shelf-extending preservatives. While convenient, they often don’t provide much nutritional value.
Homemade dog biscuits allow you to:
- Control ingredient quality
- Avoid artificial additives
- Adjust texture for puppies or senior dogs
- Customize flavors your dog already loves
This peanut butter and oat combination is especially popular because it’s simple, affordable, and gentle on most dogs’ stomachs.
Is Peanut Butter Safe for Dogs?
Yes—peanut butter is safe for dogs, but only when used correctly.
Important Peanut Butter Safety Tips
- Always choose natural, unsweetened peanut butter
- Never use peanut butter containing xylitol (toxic to dogs)
- Avoid added sugar, salt, or artificial flavors
Benefits of Peanut Butter for Dogs
- Healthy fats for skin and coat
- Protein for muscle support
- Naturally appealing taste that dogs love
When used in moderation, peanut butter is one of the best ingredients for homemade dog treats.
Are Oats Good for Dogs?
Absolutely. Oats are a fantastic grain option for dogs, especially those sensitive to wheat.
Benefits of Oats for Dogs
- Easy to digest
- High in fiber for healthy digestion
- Help regulate blood sugar
- Provide energy without being heavy
Using oats in dog biscuits also gives them a satisfying crunch without being overly hard.
Ingredients You’ll Need
This Peanut Butter & Oat Dog Biscuits recipe uses simple pantry staples, making it perfect for beginners.
Main Ingredients
- 1½ cups rolled oats (old-fashioned oats work best)
- ¾ cup whole wheat flour (or oat flour)
- ½ cup natural peanut butter (xylitol-free)
- ½ cup water
- 1 large egg
Optional Add-Ins (Dog-Safe)
- 1 tablespoon ground flaxseed (for coat health)
- 1 tablespoon unsweetened pumpkin purée
- 1 teaspoon cinnamon (optional, small amount only)
💡 If your dog has wheat sensitivity, replace wheat flour with oat flour or rice flour.
Equipment Needed
- Mixing bowl
- Spoon or spatula
- Rolling pin
- Cookie cutters or knife
- Baking tray
- Parchment paper
- Oven
Step-by-Step Instructions
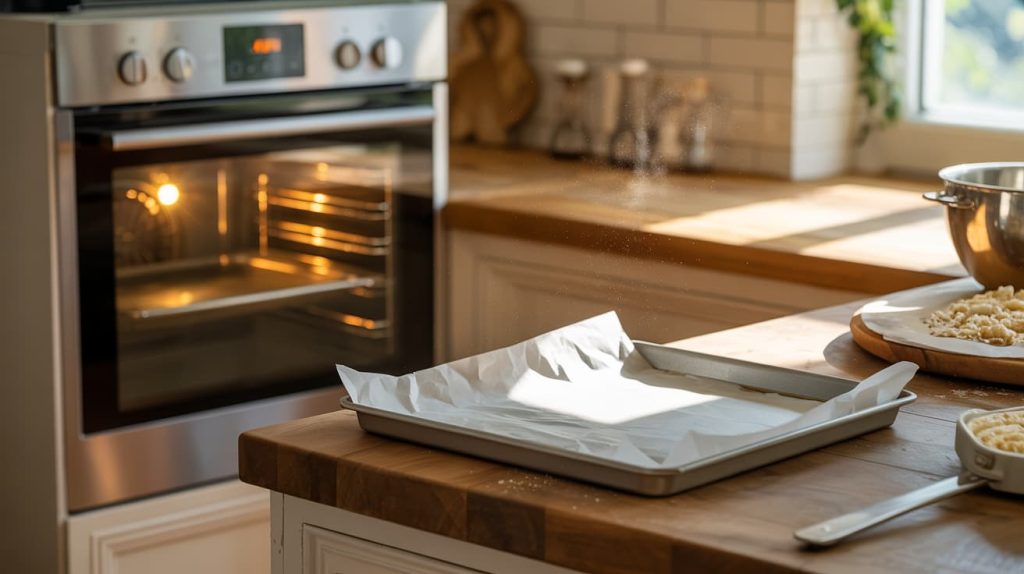
Step 1: Preheat the Oven
Preheat your oven to 350°F (175°C). Line a baking tray with parchment paper and set it aside.
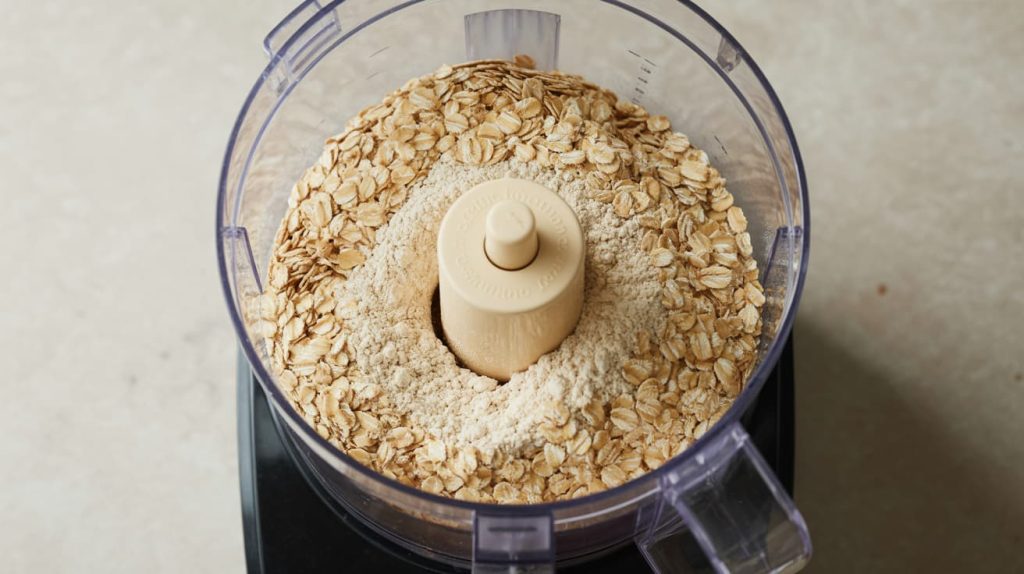
Step 2: Prepare the Oats
Place the rolled oats into a blender or food processor. Pulse a few times until they resemble coarse flour. You can leave some texture if your dog enjoys crunchier biscuits.
Step 3: Mix the Dry Ingredients
In a large mixing bowl, combine:
- Ground oats
- Flour
- Optional flaxseed or cinnamon
Stir until evenly combined.
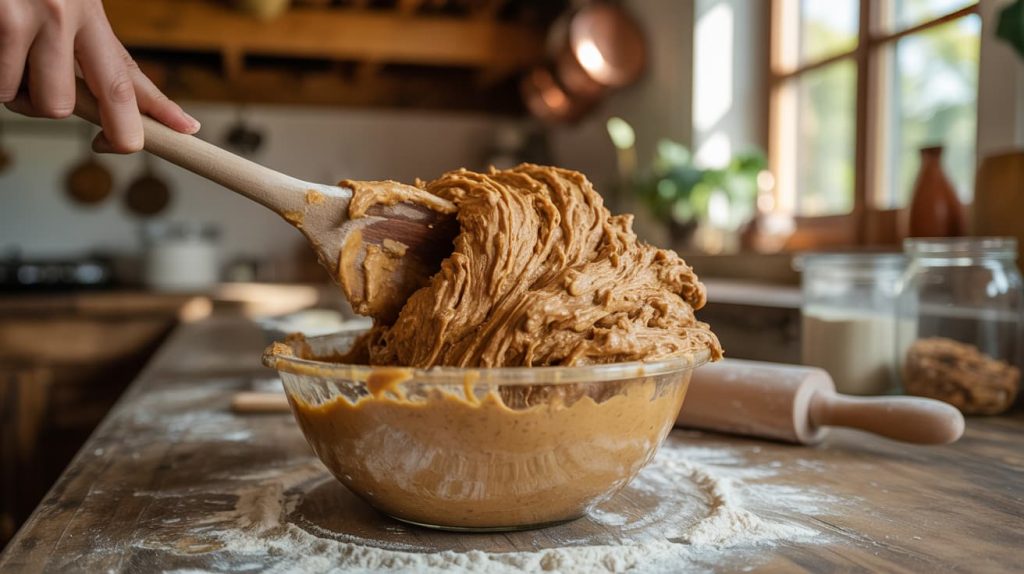
Step 4: Add the Wet Ingredients
Add peanut butter, egg, and water to the dry mixture. Stir until a thick dough forms. The dough should be firm but pliable.
If it feels too dry, add water one tablespoon at a time. If too sticky, sprinkle in a little more flour.
Step 5: Roll Out the Dough
Lightly flour your work surface. Roll the dough out to about ¼ inch thickness. Thicker biscuits work well for larger dogs, while thinner ones suit small dogs.
Step 6: Cut the Biscuits
Use dog-bone cookie cutters or simply cut into squares with a knife. Place each biscuit onto the prepared baking tray, leaving a little space between them.
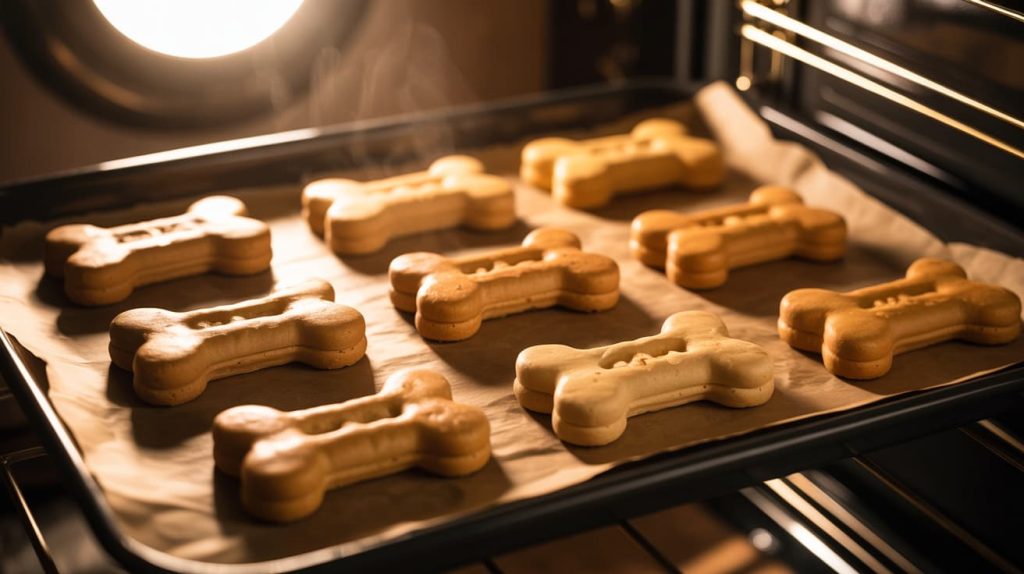
Step 7: Bake Until Golden
Bake for 20–25 minutes, or until the biscuits are firm and lightly golden. For extra crunch, turn off the oven and let the biscuits sit inside for another 10–15 minutes.
Step 8: Cool Completely
Remove biscuits from the oven and allow them to cool fully on a wire rack. They will harden slightly as they cool.
Never give hot biscuits to your dog.
Serving Size Guide
Even healthy treats should be given in moderation.
- Small dogs: 1 biscuit per day
- Medium dogs: 1–2 biscuits per day
- Large dogs: 2–3 biscuits per day
Treats should make up no more than 10% of your dog’s daily diet.
Storage Tips
- Store in an airtight container at room temperature
- Keeps fresh for 5–7 days
- Refrigerate for up to 2 weeks
- Freeze for up to 3 months
To freeze, place biscuits in a freezer-safe bag and thaw as needed.
Common Mistakes to Avoid
- ❌ Using peanut butter with xylitol
- ❌ Adding sugar or salt
- ❌ Overbaking until rock hard
- ❌ Feeding too many biscuits at once
Are These Biscuits Safe for Puppies?
Yes, but:
- Introduce slowly
- Break biscuits into small pieces
- Ensure your puppy can chew firm textures
For very young puppies, bake slightly softer biscuits by reducing baking time.
Easy Recipe Variations
Once your dog loves this base recipe, try these variations:
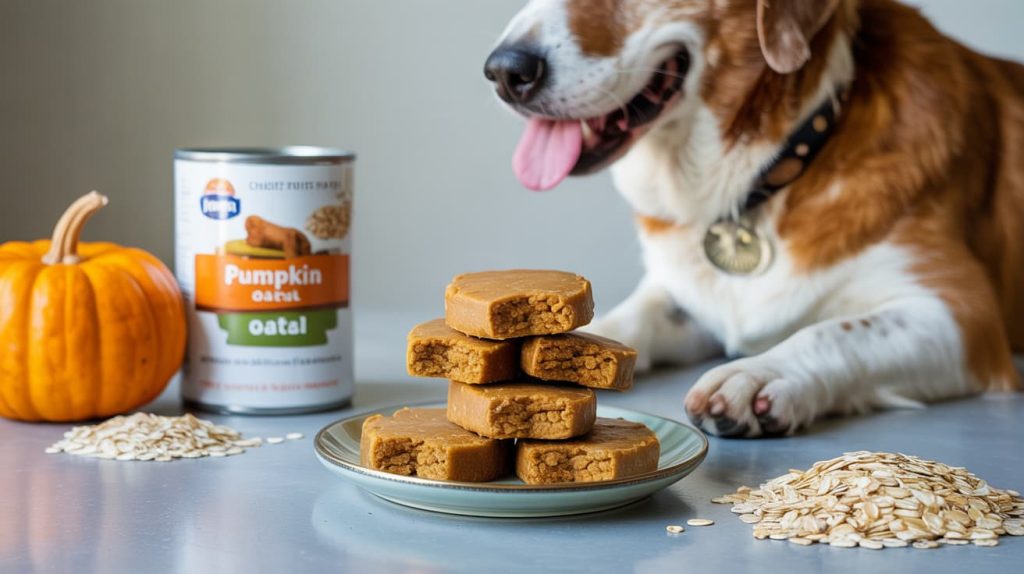
- Pumpkin Peanut Butter Biscuits: Add pumpkin purée
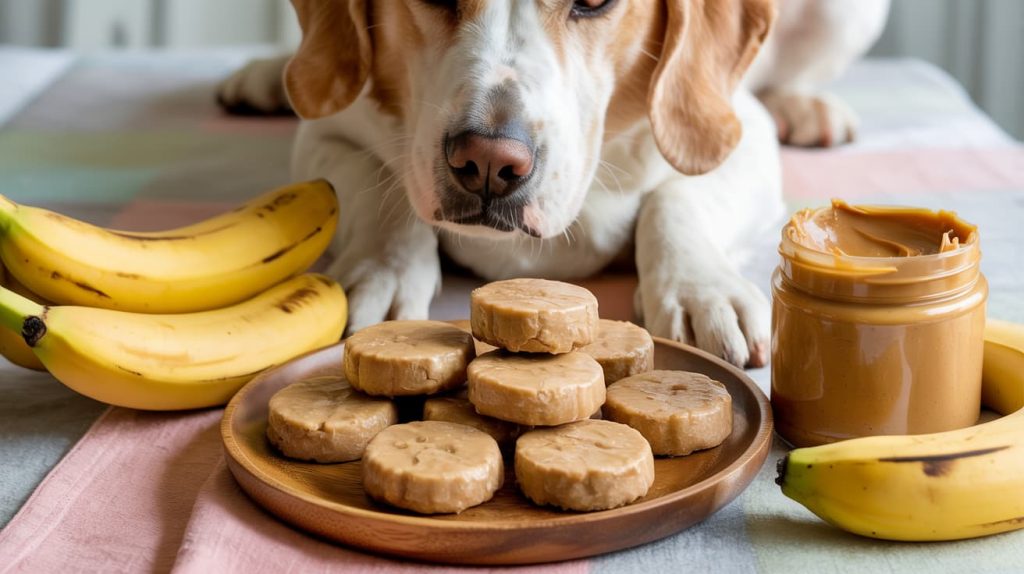
- Banana Oat Biscuits: Replace egg with mashed banana
- Apple Peanut Butter Biscuits: Add finely grated apple
Each variation keeps the recipe fun while staying dog-safe.
Final Thoughts
These Peanut Butter & Oat Dog Biscuits are crunchy, wholesome, and incredibly easy to make even if you’re new to baking dog treats. They’re perfect for everyday rewards, training sessions, or simply showing your dog some extra love.
Once you make a batch, don’t be surprised if your dog starts following you into the kitchen every time you reach for the peanut butter jar. 🐶💛
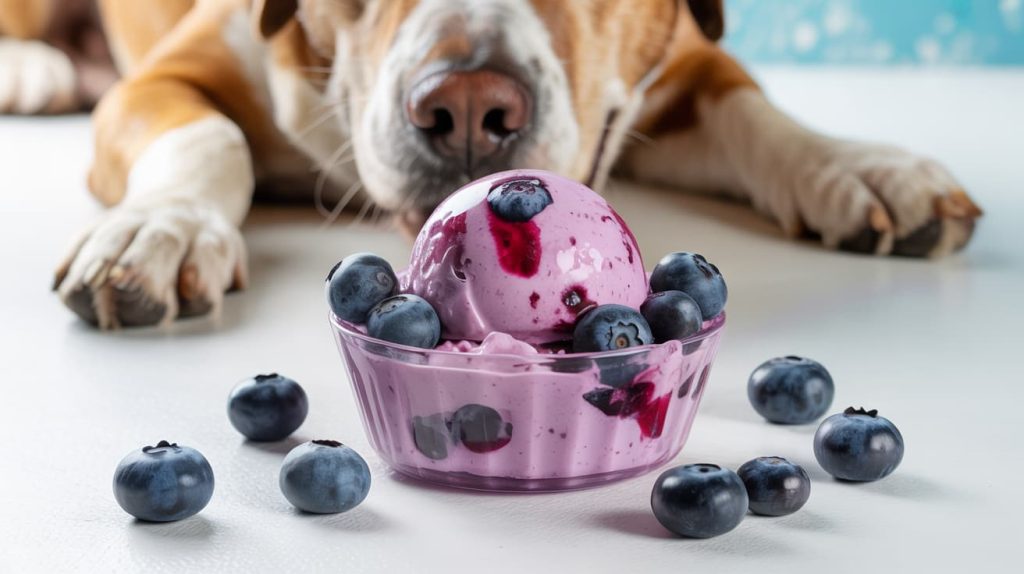
Also read on Blueberry Yogurt Ice Cream